
Introduction:
Android penetration testing involves assessing the security vulnerabilities and weaknesses in Android applications and devices. To conduct effective Android penetration testing, it is crucial to set up a dedicated lab environment. This lab provides a controlled and safe space for testing and allows you to simulate real-world scenarios without impacting live systems.
1.Java
Java is one of the necessary dependencies for some of the tools, such as Android Studio and Burp Suite. So, download and install Java from the following link: Download Java for Windows
2. Android Studio
The next tool to be installed is Android Studio. Android Studio is the official IDE for Android application development, based on IntelliJ IDEA. Download and install Android Studio from the following link: Download Android Studio & App Tools – Android Developers
- Download Android Studio and run the installer
- Click Next till the following window appears
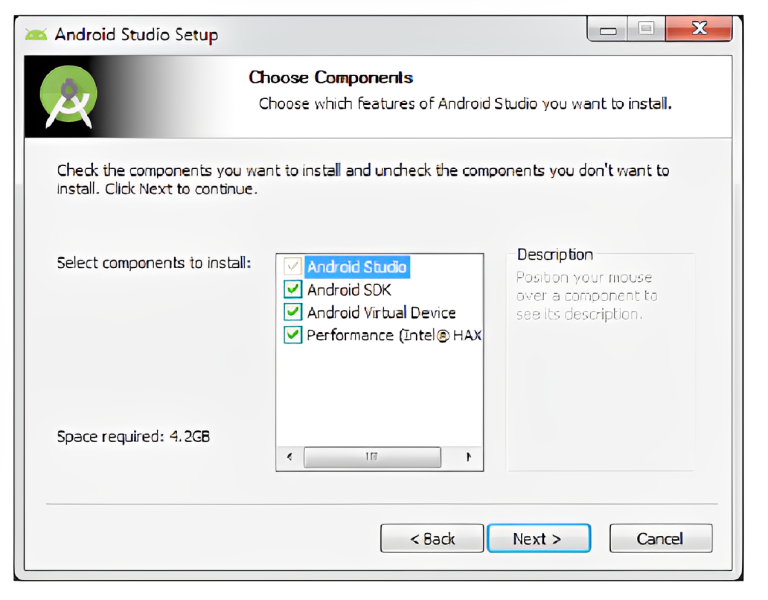
This window shows us the options for the tools to be installed. It is suggested you check all of them to install Android SDK, Android Virtual Device, and Intel@HAXM, which is used for hardware acceleration and necessary to run x86-based emulators with Android Studio.
- Choose the installation location for Android Studio and the Android SDK. If you don’t have any specific choices, leave them to the default values. Please keep a note of the location of your Android SDK to add it to your system environment variables, so that we can access tools such as adb, sqlite3 client, and so on from anywhere on the command prompt
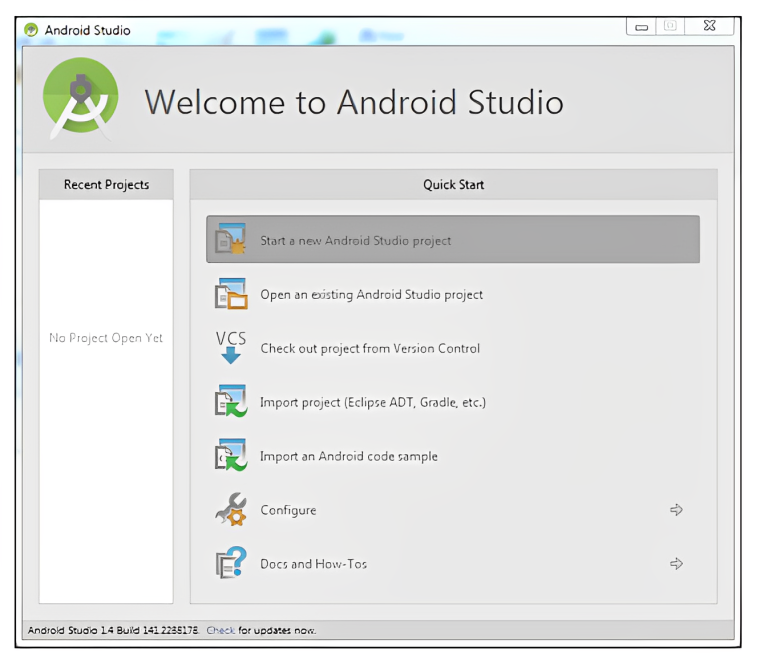
Once the installation is complete, you will be able to launch Android Studio,as shown in the following screen capture
3. The Android SDK
The Android SDK provides developers with the ability to completely build, test, and debug apps that run on the Android platform. It has all the relevant software libraries, APIs, system images of the emulators, documentation, and other tools that help create an Android app. We have installed Android Studio with the Android SDK, and it is crucial to understand how to utilize the inbuilt SDK tools as far as possible.
4. Android Debug Bridge
It is a simple and powerful command line tool, which will be extensively used to communicate with an Android device and also control it. To connect with adb on a physical device, it is important to enable the USB-Debugging option. you can access this by navigating to Settings | Developer options. If you do not see the Developer options, it means that they are hidden; they can be turned on by tapping on Build number field, which can be found by navigating to Settings | About device | Build number. You should tap a total of seven times.
5. Configuring the emulator for proxy
To intercept the data flow between the device and the server Setting up the proxy in Wi-Fi-settings Assume that the device does not have the capability of having a SIM card facility and can only connect to Wi-Fi
- Go to Settings | Wi-Fi | select the Wi-Fi connected. Hold on for few seconds and you will see the options
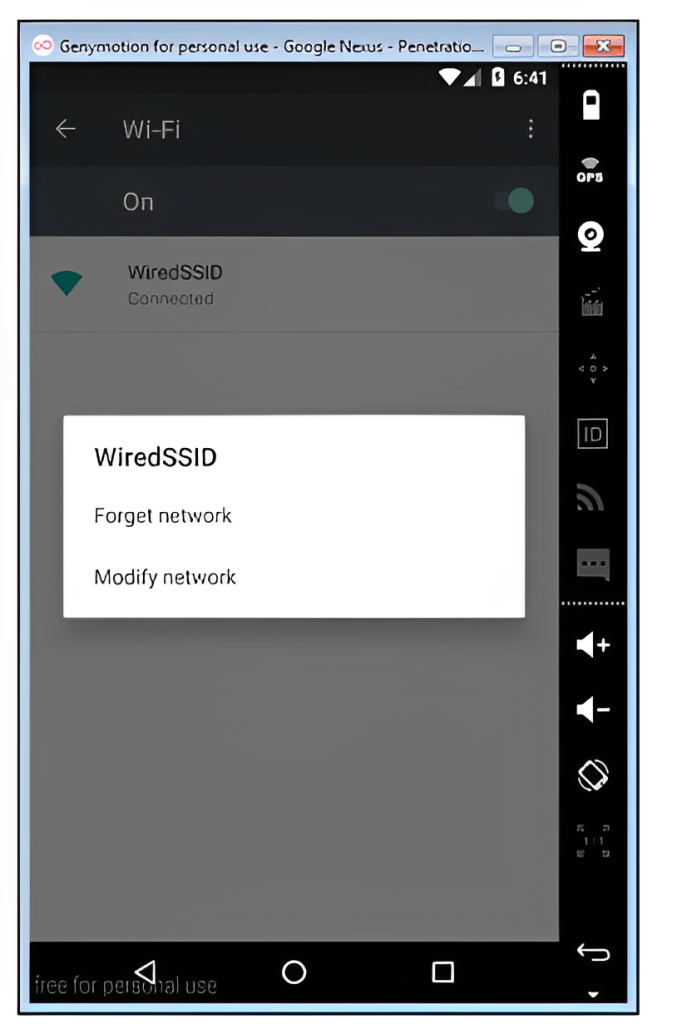
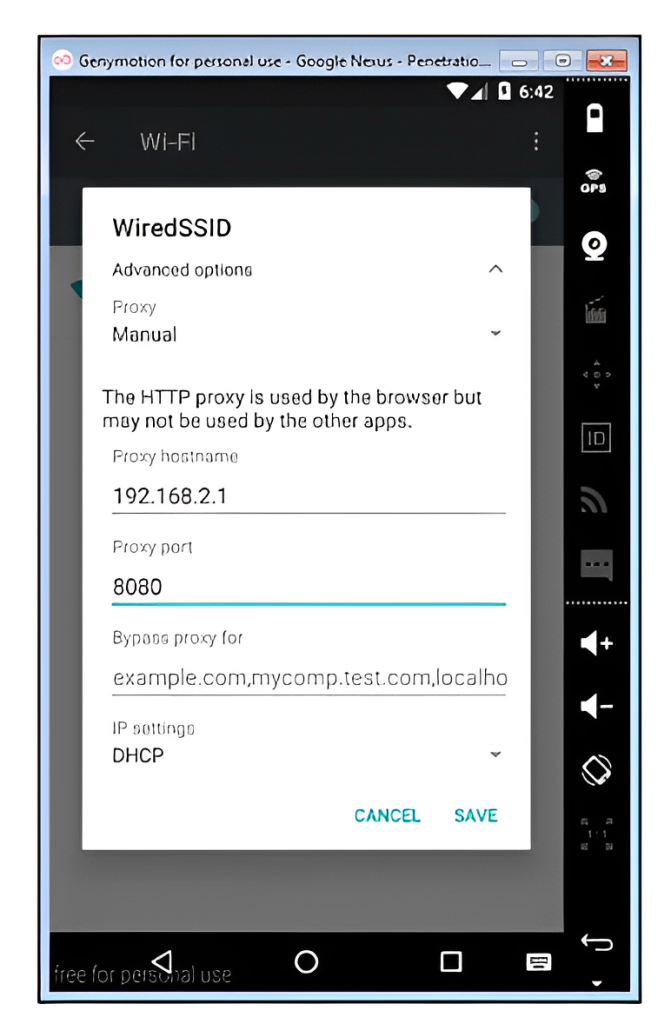
- Navigate to Modify Network | Advanced Option | Proxy | Manual
- Enter the IP details of your proxy on port 8080 running Burp Suite.
- The Wi-Fi has been successfully configured to intercept the proxy. The following screenshot from Burp Proxy is evidence that we can intercept the HTTP web traffic. To intercept the HTTPS traffic, we must do certificate pinning
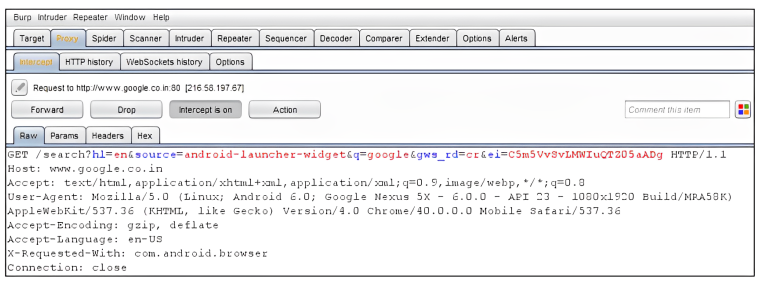
To intercept HTTPS traffic in Burp Suite during Android penetration testing, you need to configure your Android device to trust Burp’s SSL certificate.
Configure your Android device:
On your Android device, go to “Settings” > “Security” > “Install from storage” (or similar options depending on your device). Browse and select the Burp’s SSL certificate (usually in PEM or CRT format). Follow the prompts to install the certificate.Start intercepting traffic:
Go back to Burp Suite on your computer and ensure that the proxy listener is still running. On your Android device, open the app you want to test. Burp Suite should start intercepting the HTTPS traffic between the app and the server. You may need to accept the SSL certificate warning on your Android device.
6.Rooting:
Rooting is the process of obtaining privileged access (root access) to the Android operating system. By default, Android devices have restricted access to system files and settings to ensure stability, security, and protect user data. Rooting allows users to gain administrative control over their Android device, enabling them to access and modify system files and settings that are otherwise restricted. Steps to root an emulator
- Start your emulator
- Download rootAVD tool from https://github.com/newbit1/rootAVD “rootAVD.bat” suggests that the script is intended to perform tasks related to rooting an AVD.
- Go to rootAVD tool perform these commands
RootAVD.bat rootAVD.bat ListAllAVDs It would display a list of all the AVDs configured on the system. You see a long list of commands for many Android versions. Execute the correct one for your emulator, which is probably API 30, x86, ending in “ramdisk.img”, as shown below: rootAVD.bat %LOCALAPPDATA%\Android\Sdk\system-images\android-29\android-automotive-playstore\x86\ramdisk.img A lot of messages scroll by, and your emulator shuts off. The command seems to execute a batch script named “rootAVD.bat” and passes the path of the “ramdisk.img” file as an argument. The “ramdisk.img” file is a component of the AVD that contains the initial file system used during the device boot process. If adb shell is not in your path, then use set path variable 
You can push Magisk into device which helps to root your device.
Old Booting your Emulator:
In Android Studio, in DevCice Manager, on the line showing your device, at the right side, click the down-arrow, and click “Cold Boot Now“, as shown below.
 If the device fails to boot up, you may need to repeat the cold boot process.
 Opening a Root Shell
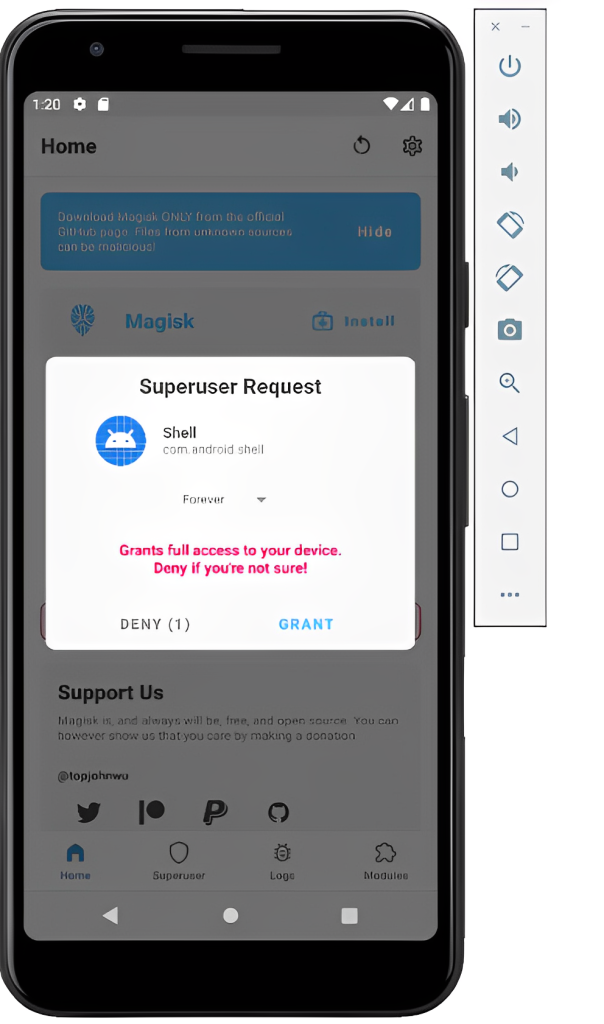
Make sure your Android device is visible and convenient–you only have ten seconds to react to a prompt.
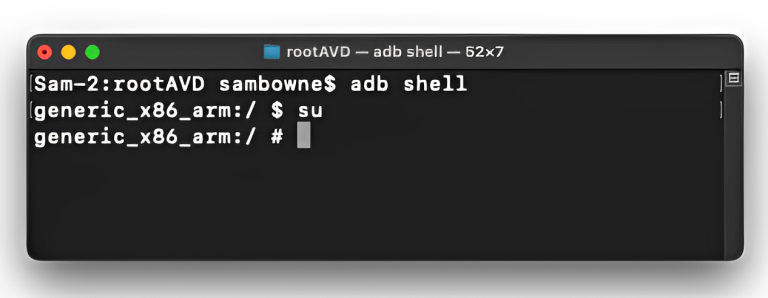
In a Command Prompt or Terminal, execute these commands: adb shell su A prompt appears on your Android device, as shown below. Click GRANT.
You get a root shell, as shown below.
Conclusion:
By following the steps outlined above, you can create an effective lab setup that allows you to assess the security vulnerabilities of Android applications and devices without impacting live systems.
Reference:
Mobile Application Penetration Testing by Vijay Kumar Velu https://github.com/newbit1/rootAVD For further clarifications or support, please write to contact@paradigmitcyber.com